开发环境
目前 Swift 官方支持 macOS 和 Ubuntu 操作系统,本教程讲解的是如何在 macOS 搭建 Vapor 开发环境。
开发版本
Swift版本:5.6Vapor版本:4.0+
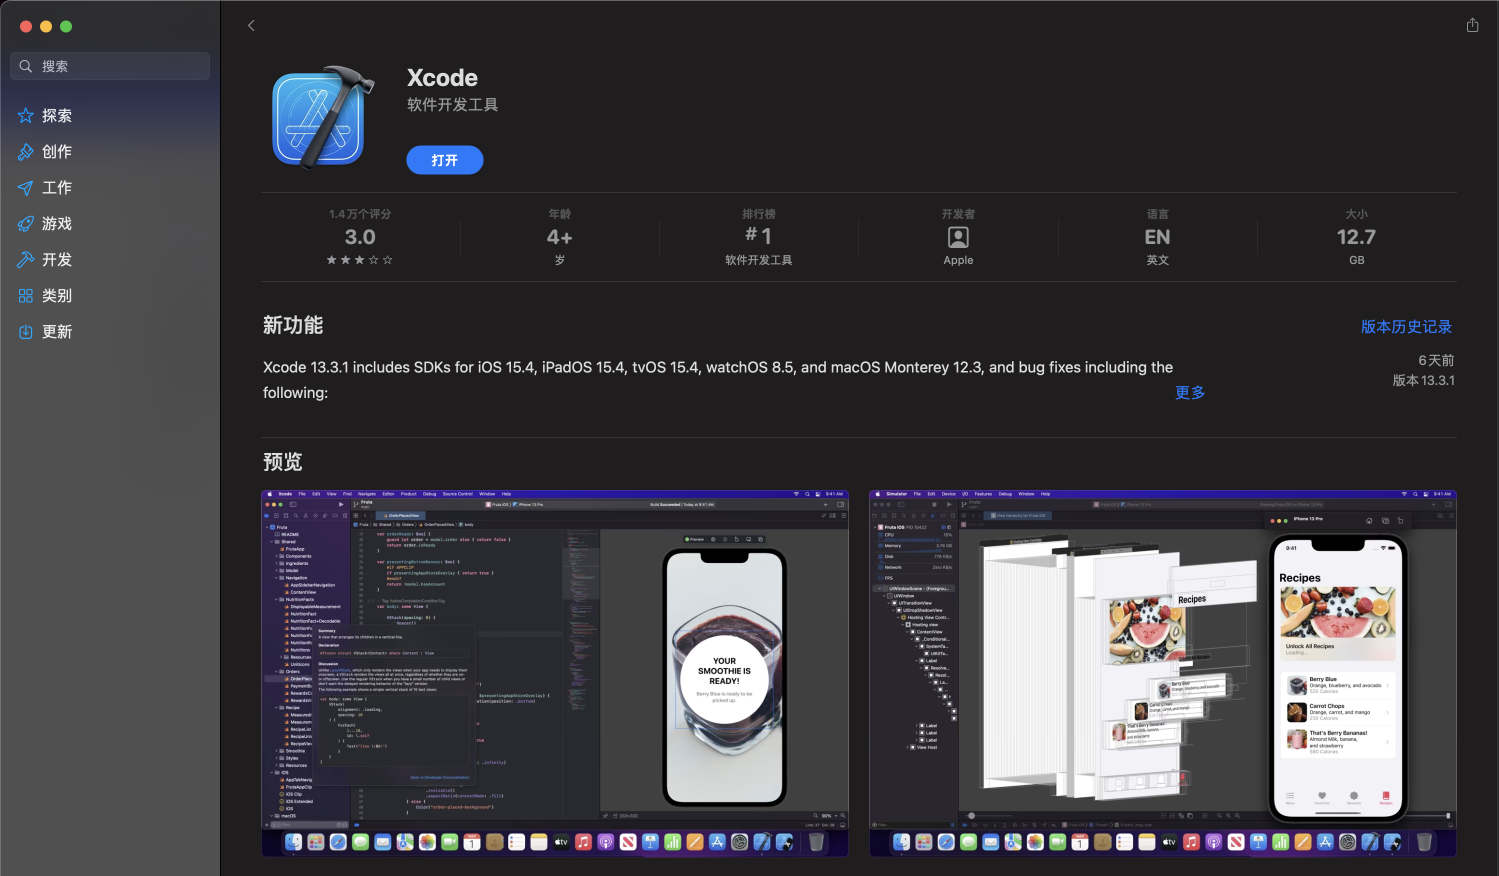
安装 Xcode

安装好 Xcode 后,通过以下命令来确认当前 Swift 版本。
swift --version
将显示对应的 Swift 版本信息。
swift-driver version: 1.45.2 Apple Swift version 5.6 (swiftlang-5.6.0.323.62 clang-1316.0.20.8)
Target: arm64-apple-macosx12.0
Note
本教程使用的是 Swift 5.6 版本,此处会展示你实际安装的 Swift 版本号。
安装 Vapor Toolbox
执行以下命令
brew install vapor
Note
brew 安装方法可参考: https://brew.sh
安装成功后,执行以下命令,将显示可用的命令列表。
$ vapor --help
Usage: vapor <command>

Vapor Toolbox (Server-side Swift web framework)

Commands:
       build Builds an app in the console.
       clean Cleans temporary files.
      heroku Commands for working with Heroku.
         new Generates a new app.
         run Runs an app from the console.
             Equivalent to `swift run Run`.
             The --enable-test-discovery flag is automatically set if needed.
  supervisor Commands for working with supervisord.
       xcode Opens an app in Xcode.

Use `vapor <command> [--help,-h]` for more information on a command.
常用命令介绍
- 初始化
Vapor新项目
vapor new <项目名>
- 编译项目
vapor build
- 运行项目
vapor run
- 生成
Xcode项目
vapor xcode
Note
也可以直接双击 Package.swift 文件,macOS 会直接通过 Xcode 打开该项目。
- 清理
Vapor项目
vapor clean
Note
clean 命令会删除项目中的临时文件。如果遇到比较奇怪的编译错误,也可以尝试 clean 下。
Ubuntu
基于 Ubuntu 的 Vapor 环境,具体步骤可参考:Vapor 官网